
Interactive Dome
Contributors


About
The purpose of this guide is to show how an interactive dome application can be built using Unreal Engine 5. The guide is based on a template project that can be used as a starting point for a new application. Two core systems are used for this interactive dome application, nDisplay for running multiple instances of the application on the dome projectors, and Omni to handle user interaction and web socket communication with Unreal Engine.
Unreal Engine template project
The template project is meant to be a guide to how you could build an interactive dome application in Unreal Engine. The project is built in Unreal Engine 5.2 with C++ implementation for the Web Socket communication and uses nDisplay for splitting the instances.
Presenter and users
The core idea of the interaction experience is that a group of users have gathered in a dome environment, with a presenter running the show. The presenter decided what is being shown, and the users are given tools on there smart phones to interact with the dome show, accessible through web. The presenter has a separate interface where they can control which Unreal Engine scene is currently shown, and which control interface is currently shown to the visitors. This interface allows the presenter to be standing on the dome stage, instead of steering the experience from the control room.
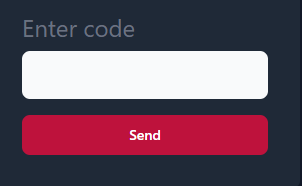
Visitors can access the user interface through the guest login at omni.itn.liu.se. This will prompt them to enter a four letter code shown on the dome application. The code allows us to control who joins the session, ensuring that people outside of the dome doesn't join. Once they join, they will be presented with the user interface, which is blank by default. The presenter then controls which tool they can use, usually matching one Unreal scene.

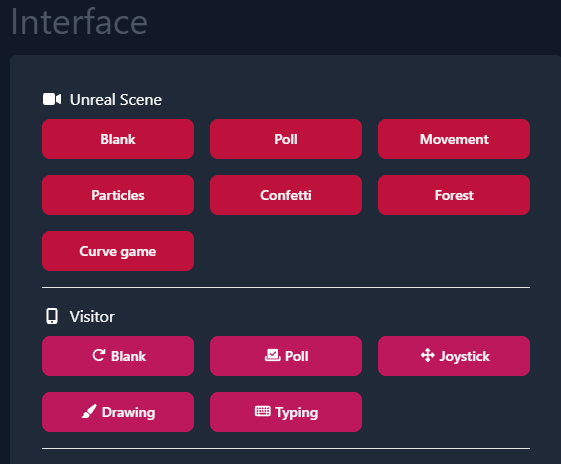
Interaction
We have created multiple possible user interactions with the dome through the web interface. The goal is to provide some basic interaction types, and then the Unreal Engine developer can build experiences around the different inputs.
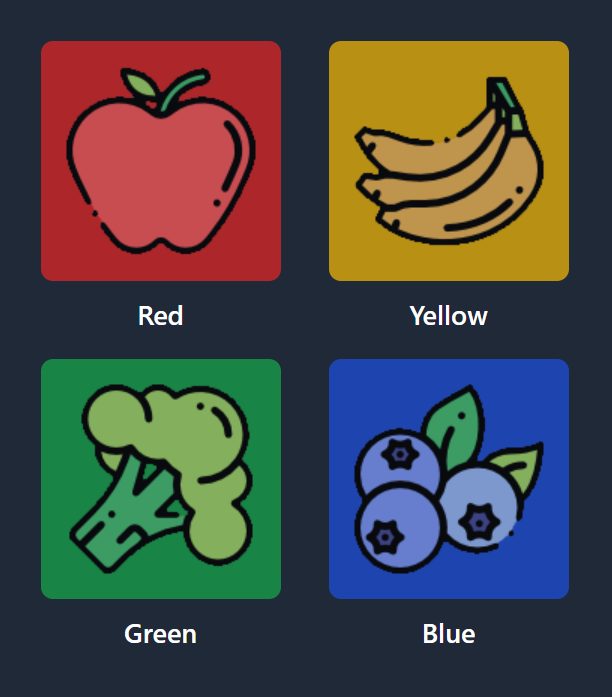
Poll
Poll gives the user 4 different options to select. Each selection will send a new choice, so you will have to handle how many times a user can vote on the UE side.
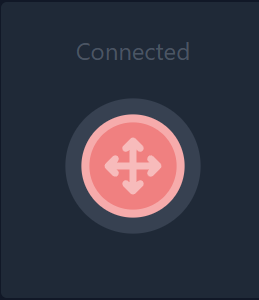
Joystick
The joystick can be dragged around by the user to control a direction. The direction will be a 2D vector, so you would have to translate how this should be used in the dome space.
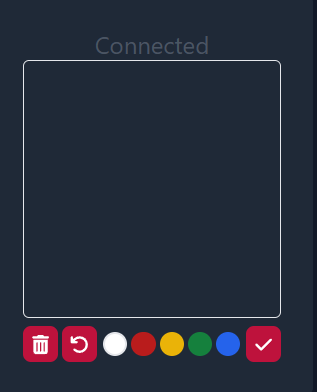
Drawing
The drawing UI allows the user to draw sin a 128x128 pixel square with multiple colors, and submit the drawing. On submit, a base64 message is sent to Unreal Engine, where it will have to be parsed into a Texture.
Typing
Allows the user to type a message and send it as a string to Unreal Engine.
Message Protocols
All the above mentioned interactions are communicated to Unreal Engine through web socket using the following protocols:
Sample levels
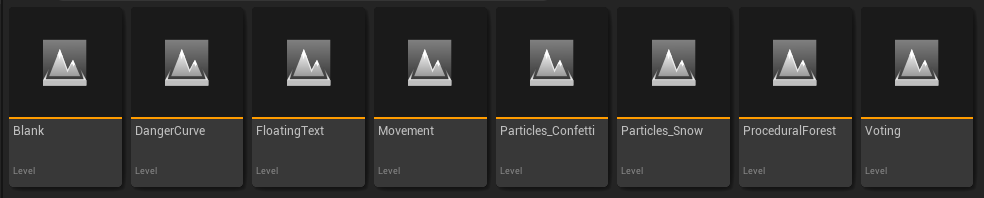
The Unreal Engine template project contains several examples of how the interaction types can be implemented. Each level contains login information shown with a 3D widget. This format is important, as you can't show screen space information in the dome, as it will be distorted.
Blank
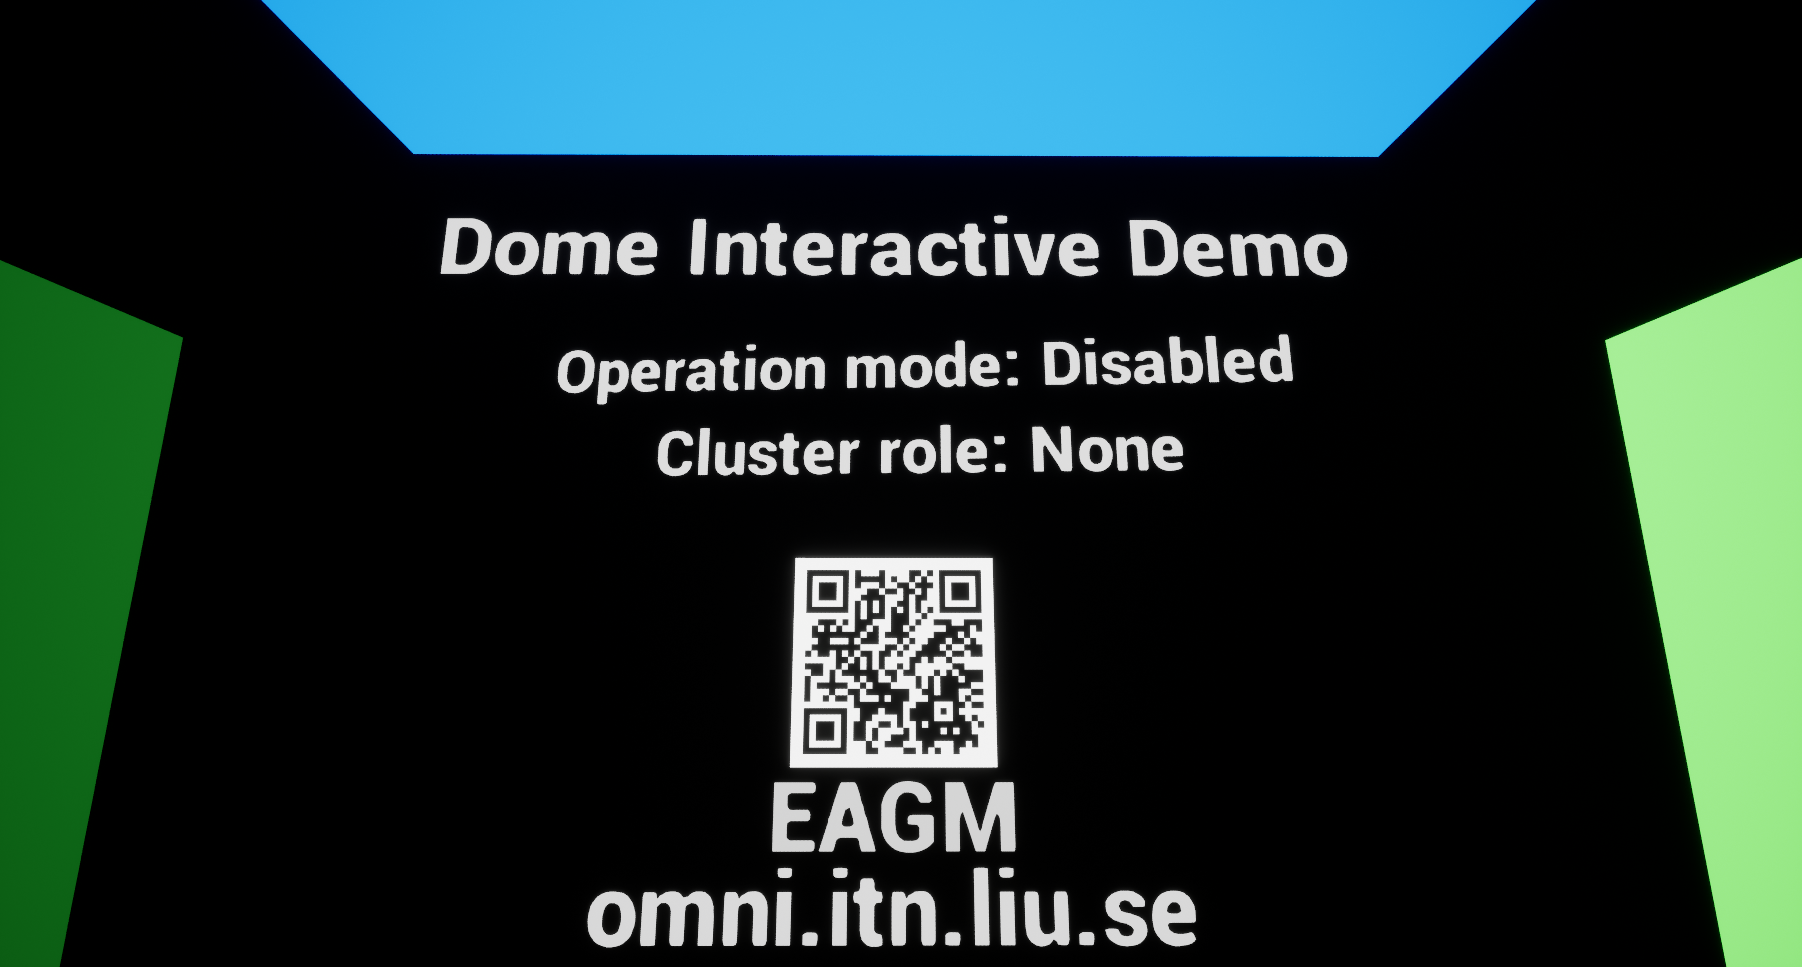
This is the default start level, meant as a neutral starting ground with debug data. Colored plane helps you check projector alignment, and you get text information about the current operation mode and cluster role.
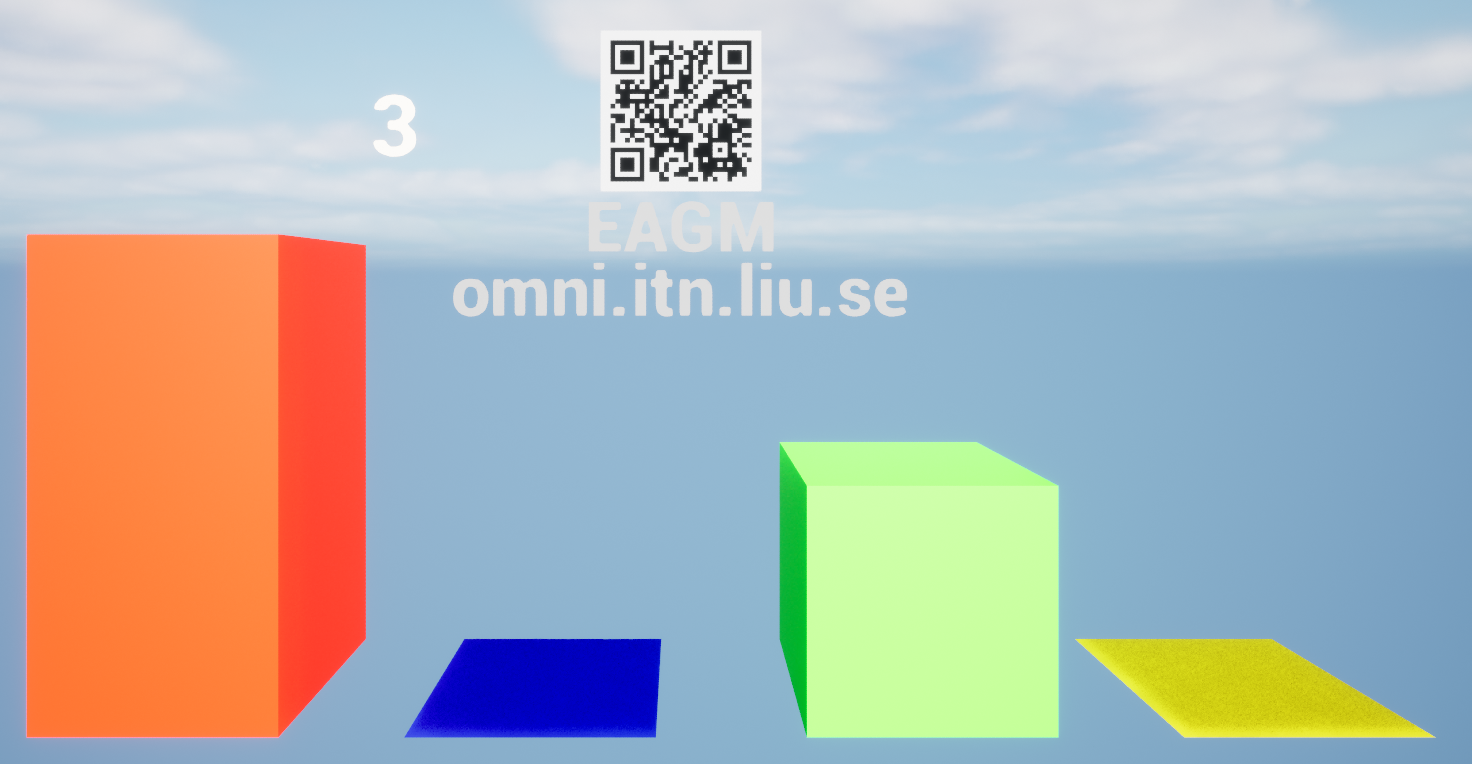
Voting
A basic implementation of the voting UI. Different colored bars increase and decrease in height to show user votes. The code keeps track of user votes and only allows one vote per person, and the user can update their vote which changes the result.
Particles Confetti
Another implementation of the poll UI, where users use the buttons to spawn particles of different colors. One button press spawns one particle of the given color, and the user can send multiple presses to spawn more confetti particles.
Particles snow
This level implements the drawing UI, and the idea is that the user can draw a snowflake, or really any picture, and submit it to the dome. The application will then start spawning the users snowflakes. Each user can submit one picture at a time. An important feature on the particle material is that the particles fade away when they get too close to the camera, as object that are too close to the eyes in a stereo experience causes a cross-eyed effect.
Movement
This level implements the joystick UI which allows each user to control a ball. The balls move on the surface of the dome with a rotational motion from the center of the dome. Left and right joystick controls the yaw of the ball, and up and down controls the pitch. This means that the ball can get "stuck" at the top of the dome, rotating in a small circle. This implementation was an attempt to make a navigation that works no matter where you look on the dome, so the behavior is the same even if the user turns 180°. The user cant move outside of the dome surface, to ensure that they don't lose track of their ball.

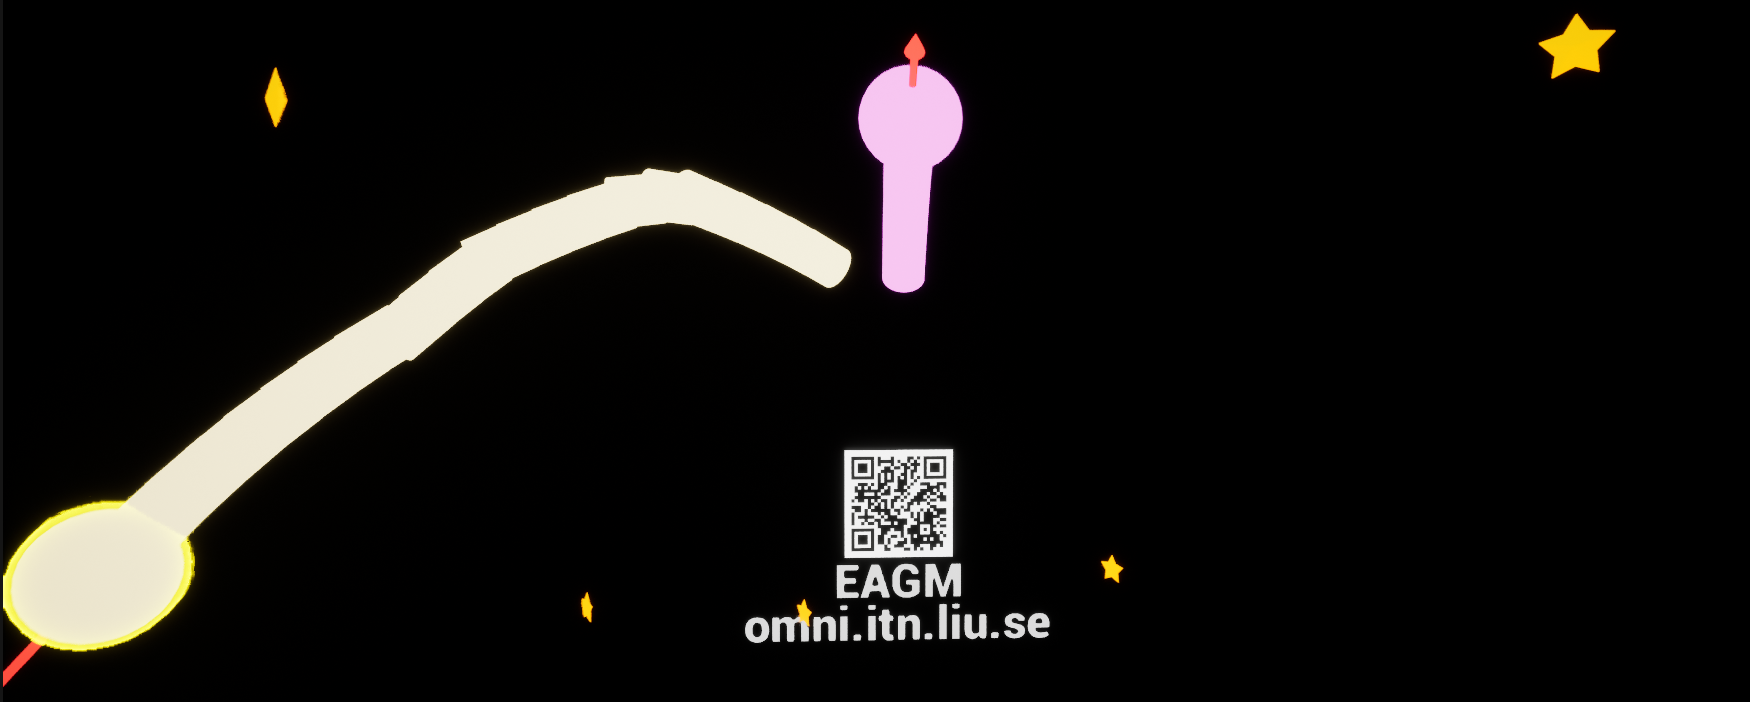
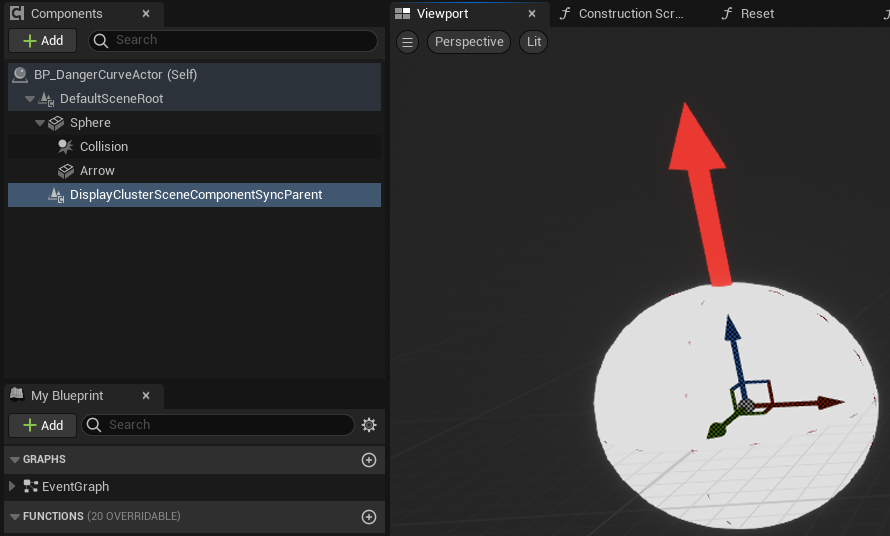
Danger curve
Inspired by the game Achtung die Kurve, this level implements another version of joystick movement. In this case, the user has constant motion in the "forward" direction and uses the joystick to steer left and right. An arrow shows the travel direction of the ball and provides feedback when you provide left/right input. If the ball hits the edge or an obstacle, the user respawns in the middle again. With this version we get around the issues with using polar coordinates and rotation to move the ball, but the drawback is that the movement is constant and the user has less control.
NDisplay
NDisplay is an Unreal Engine system for creating multi screen/projector applications. It gives you tool to deploy and launch multiple instances of your application across different computers in a network, define complex camera transform/frustum setups and ensure that content on different nodes are in sync. We have created an nDisplay config for the dome that you can refer to.
Synchronized nodes
It's important to understand that the nDisplay config runs one instance of Unreal Engine on each node/projector, and that you have to make efforts for the nodes to be synchronized. In the template project we handle the websocket communication on the main node, and distribute changes to the child nodes. This can either be done with cluster messages or sync actor components that ensures that the parent actor is synced between nodes. s
Synchronized transforms
You might be tempted to synchronize actor velocity and other float values, as that requires less data to be sent between nodes. However, it is important to keep in mind that floating point errors can cause issues when trying to calculate location from velocity etc, as small errors will accumulate over time and make the actor transforms differ between nodes. It is therefore advised to sync transforms directly instead of relying on local calculations.
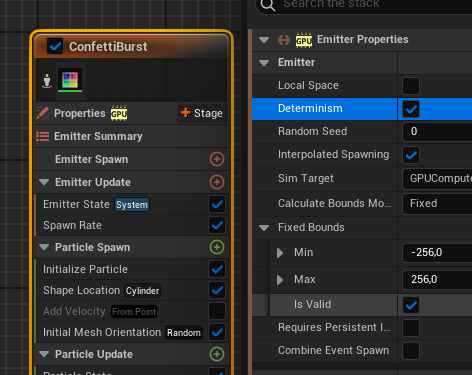
Determinism
If you plan to use randomness in any form in your application, it is important to ensure that it is done deterministically. For example, by providing a static seed or syncing a seed across nodes. In addition to gameplay code, particle systems is another example of elements that need to be marked as deterministic.
Testing the application with Switchboard
With all these considerations about the nDisplay setup, you might want a way to test your application in a desktop environment before trying it in the dome. This is where Switchboard comes in. It allows you to run the application with an nDisplay config, which starts multiple nodes on the same machine, in our case a master and a child node, placed next to each other on the screen. You can then compare the master and child node to see if the content on both nodes are synced. You can load our desktop Switchboard config into Switchboard as a start point. You will have to edit the config with your own paths, pointing to your packaged application .exe and the desktop nDisplay config
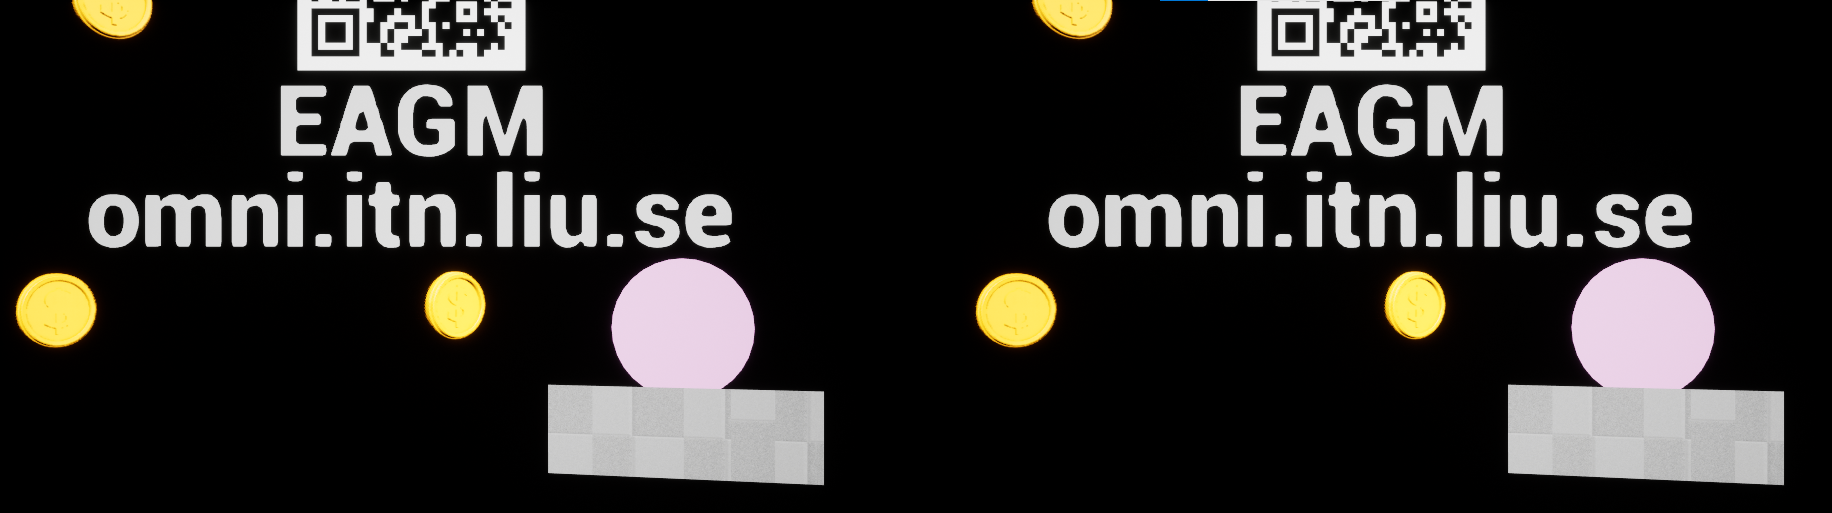
In this example we see that the randomly placed coins are in the same place, as well as the ball representing a user